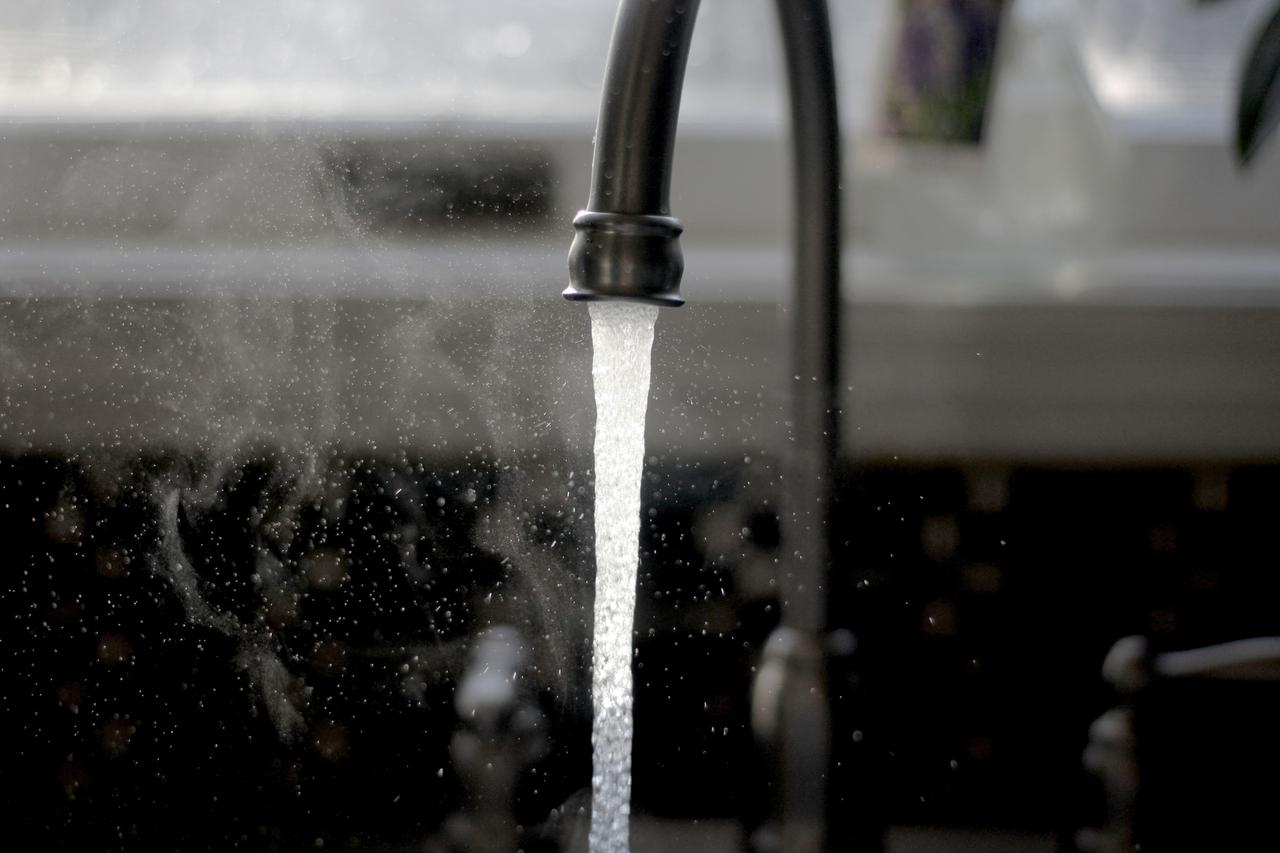
While your local water supply is considered safe for consumption, it may still contain unwanted particles that affect the smell, taste, and hardness of your water. With a home aqua water filter fitting, homeowners can improve their water and combat the effects of chemicals found in municipal water.
Once you have purchased a high-quality water filtration system, the next step is to make sure it is installed correctly. Many homeowners wonder if they are better off cutting costs by fitting the unit themselves. Although it is always best to leave these types of jobs to a professional plumber, it is possible to install an aqua water filter fitting yourself.
Are you planning a DIY aqua water filter fitting? With the right tools and preparation, you should be able to get the job done. Below we have explained the step by step process so that you have all the information you need to get started.
To avoid confusion during installation, it is always best to familiarize yourself with the equipment that you will be working with. Typically, water filtration systems are made up of two parts. The pre-filter is the first piece of equipment that your unfiltered water will pass through. The purpose of this is to remove large particles that remain from your municipal water supply. This is an important first step that protects your carbon reservoir and prevents clogging within the pipes. The carbon reservoir is the second component of your filtration system, which cleans the water, drastically improving the taste and smell.
Before installation can begin, it is important to find the right location for your water filter. In order to change your pre-filter on a regular basis and remove excess sediment, it should be easily accessible. It is also important to position your pre-filter in close proximity to the shut-off valve. This way, you can stop your water from running and avoid draining a large amount of excess water when you begin cutting into your pipes. To prevent leaks, it is also important to measure the filter and carbon reservoir precisely so that you do not remove too large of a section.
Unless your home is newly built, your pipes are likely covered in dirt and grime that has accumulated over the years. If you do not thoroughly clean the metal surface before getting to work on your installation, this could cause numerous problems. First, you will be more likely to transfer unwanted particles into the interior of your pipes. Secondly, your DIY project will be a lot less enjoyable if you are constantly wiping dirt off of your hands. Lastly and most importantly, a buildup of dirt can prevent your pipes from soldering together properly, which could lead to major problems such as a leak.
Once you have completed all of the necessary preparation, it is time to mount your pre-filter, carbon reservoir, valves, and new pipe sections. The pre-filter should be mounted on a bracket, which is attached to the wall just underneath your pipes. To redirect the water supply towards your filtration system, T joints must be installed, which can then be used to connect new pipes between your pre-filter and carbon reservoir. All copper pipes must be soldered together using a torch and soldering paste. Ball valves should also be installed directly beside your pre-filter and carbon reservoir.
An aqua water filter fitting is a highly involved task that can cause serious problems if done incorrectly. To ensure a successful installation, contact our experienced team at Aqua Doctor.
Stay updated on our news and events! Sign up to receive our newsletter.
